How to Properly Tape an Area for Painting
Once all repairs have been completed to you wall surface, if required, you are ready for the next step - taping off trim, edges, doors, windows, etc. This is a fairly easy process and you may follow these steps for completion:
- Ensure all areas that are to be taped have been wiped down with a damp rag and allowed to dry.
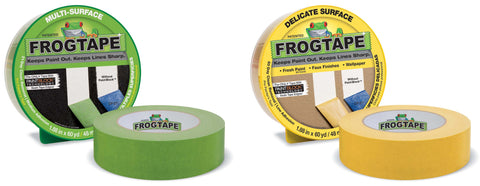
- We recommend Frog Tape, that again, can be purchased at nearly any hardware store and there are two different types; green for multiple surfaces and yellow for delicate. You will more than likely utilize the multi-surface tape.
- One tip for this step - never tear pieces off the roll as overlapping sections will allow a large gap to exist allowing paint to wick under it.
- Pull approximately 18" of tape from the roll at a time and align on edges. Press the tape down along the entire length then continue with the next 18". NOTE: DO NOT PULL THE TAPE TIGHT AS IT MAY BREAK.
- Once all tape is installed take a 2" putty knife and place the blade on the tape at a 45" angle. Place a fair amount of pressure on the blade and pull it across the length of the tape to securely press the edge of the tape against the surface.
- Once your painting is complete and prior to it completely drying you will need to remove the tape. If the paint is allowed to complete dry you may take a utility knife and run the blade between the edge of the tape and the newly painted surface to break the bond.
- To remove the tape start at a corner and pull the tape back approximately 6 inches. Once peeled back pull the tape at a 45 degree angle, twelve inches at a time, and continue to pull the length of the tape, at a moderate speed, until you reach the end. If you begin to hear a ripping sound you are going to fast.


Sign up to get the latest on sales, new releases and more …

© 2026 About Wall Decor.
2006-2015 SerKlin Enterprises, Inc. All Rights Reserved.
Powered by Shopify